

This post describes how to create, delete and manage users and access rights from
the Admin page within your Dashboard account.
Log in to the dashboard and click on Admin in the top right menu. In the top
menu, click on the Users icon to see the list of user accounts that you currently manage (i.e.
colleagues or customers).
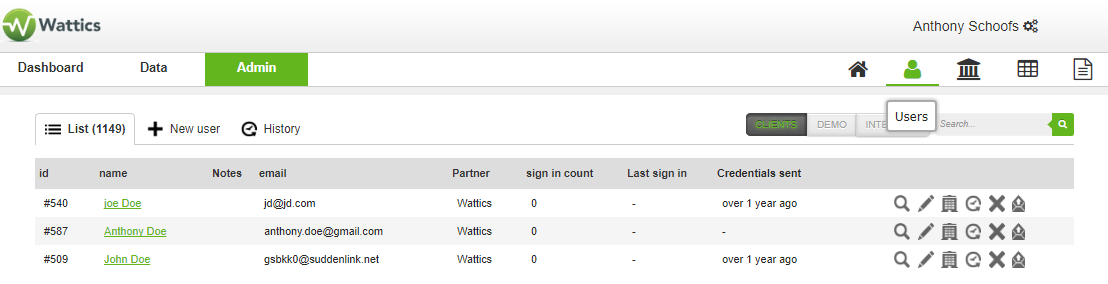
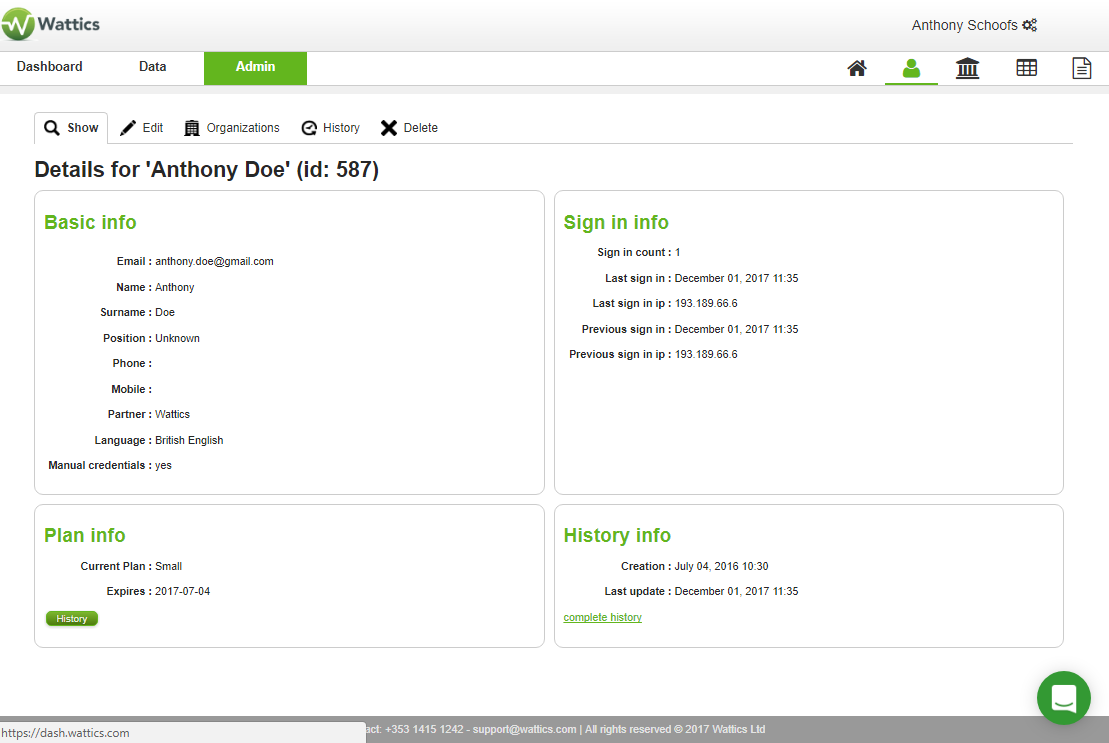
You can click on the magnifying glass icon to see more information about a
specific user such as basic information, sign in, user history and plan.
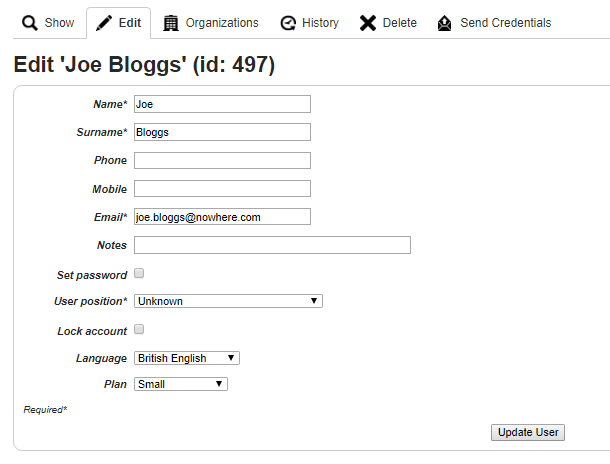
You can edit the user account information by clicking on the Edit
icon.
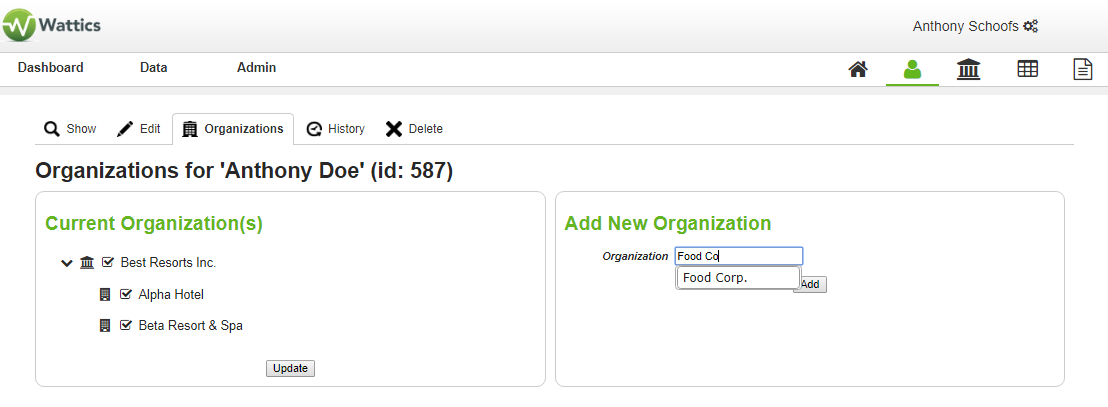
You can then manage access right to organisations and sites by clicking on
the building icon. Just type in the name of the new organisations you want to give them access to and
click "Add" to give access. From the left panel, you can select and unselect sites within a specific
organisation and update your settings.
You can review the history of modifications you made to user details and access
rights by clicking on the History icon.

You can create new users by clicking on the + icon. There you must select the
dashboard plan they must be associated to, i.e. what functionality they have access to and the
associated subscription plan.
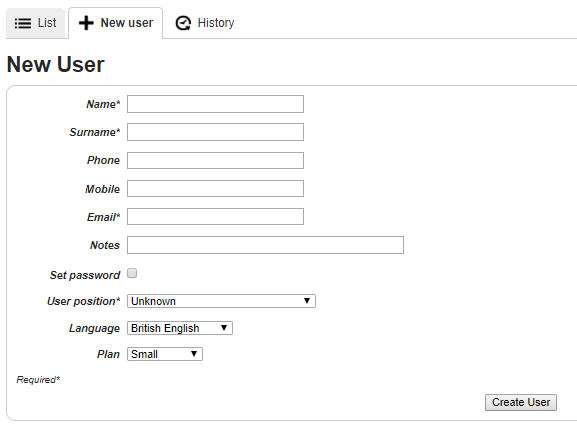
Untick the “Set password” button if you want them to receive an automated email
to set their password. You may as well tick the “Set password” button if you prefer to set a specific
password and send it over yourself by email. The email address of the user will be the username to log
in.
You can also set the language for the user and add notes about the user that only Admin users will see.
Once the user has been created, you must give them access rights to some
organisations and sites (see STEP 5), and then click on the “Mail” icon at the very right to get the
automated username/password email sent to them.
