Setting up your dashboard with The Toolbox

Updated over a week ago
Keep your dashboard fresh with The Toolbox: the newest feature available on the AiElements dashboard.
The toolbox helps you keep your dashboard tidy and to ensure that you are familiar with all the many tools AiElements has to offer. We designed this feature with you in mind. With my toolbox you can take the customisation of your dashboard to a whole new level, displaying only the features applicable to your current projects and having the flexibility to become aware of the other features in an extremely efficient way.
These tips will help you find just what you need when you need it!
Step 1: Sort All of Your Tools

In order to keep your toolbar organised, you have to first navigate to my toolbox (the icon encircled above), this will display a table of all of the tools (dashboard features) available.
Next, sort them by the type of tool or the tools that will be most used by you for your specific projects. To make this easier for you, we have added articles, videos and product tours you can follow to get familiar with new tools or better yet, learn more about the features you are already familiar with.
The toolbox is also extremely useful for ensuring you are up-to-date with all the features as all the materials linked to a certain tool will be automatically updated and accessible from the table.
Step 2: Make Some Decisions
After you have reviewed the table, it’s time to ask the tough questions and make the hard decisions so that you can setup the best toolbar for your needs. We believe that by doing so, not only will you work more efficiently but you will also work more tool specific to your needs.
In order to avoid your dashboard looking like this:
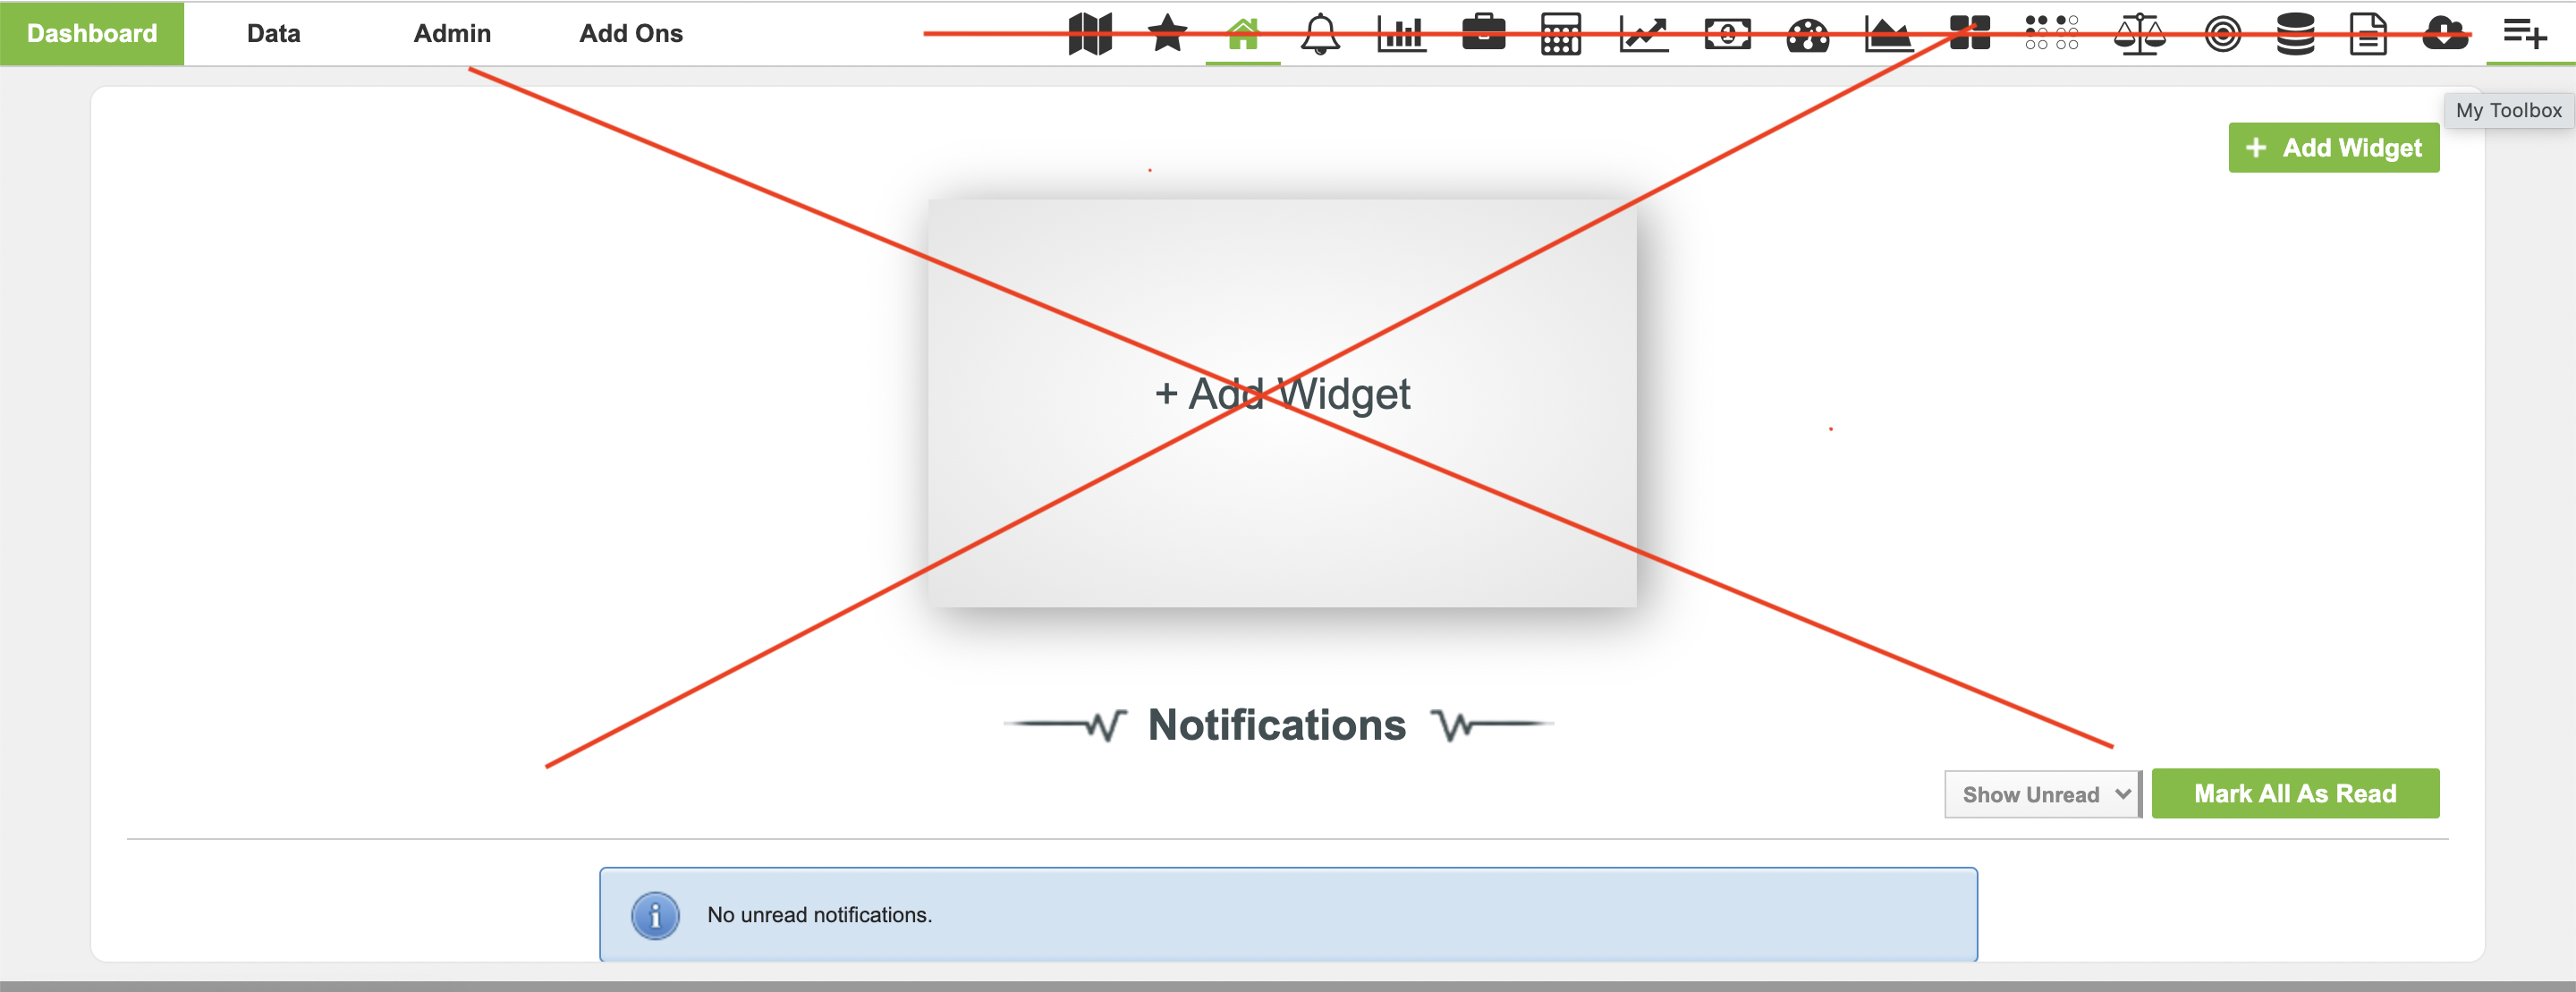
You will need to evaluate which tools you feel are best fitted to your dashboard.
For each tool, ask the following questions:
-
Is this tool fitted to my needs?
-
Have I ever used this tool?
-
Have I looked into all the material (articles, product tours, videos, E-learns etc.) for this tool?
-
Do I need to reach out to a member of the AiElements team to learn more about updated tools and how these may help my project?
In order to answer these questions, navigate through the material available for each tool. This is displayed in a table format with the relevant articles, videos & product tours available alongside the name, icon and description of each tool. See an example below.
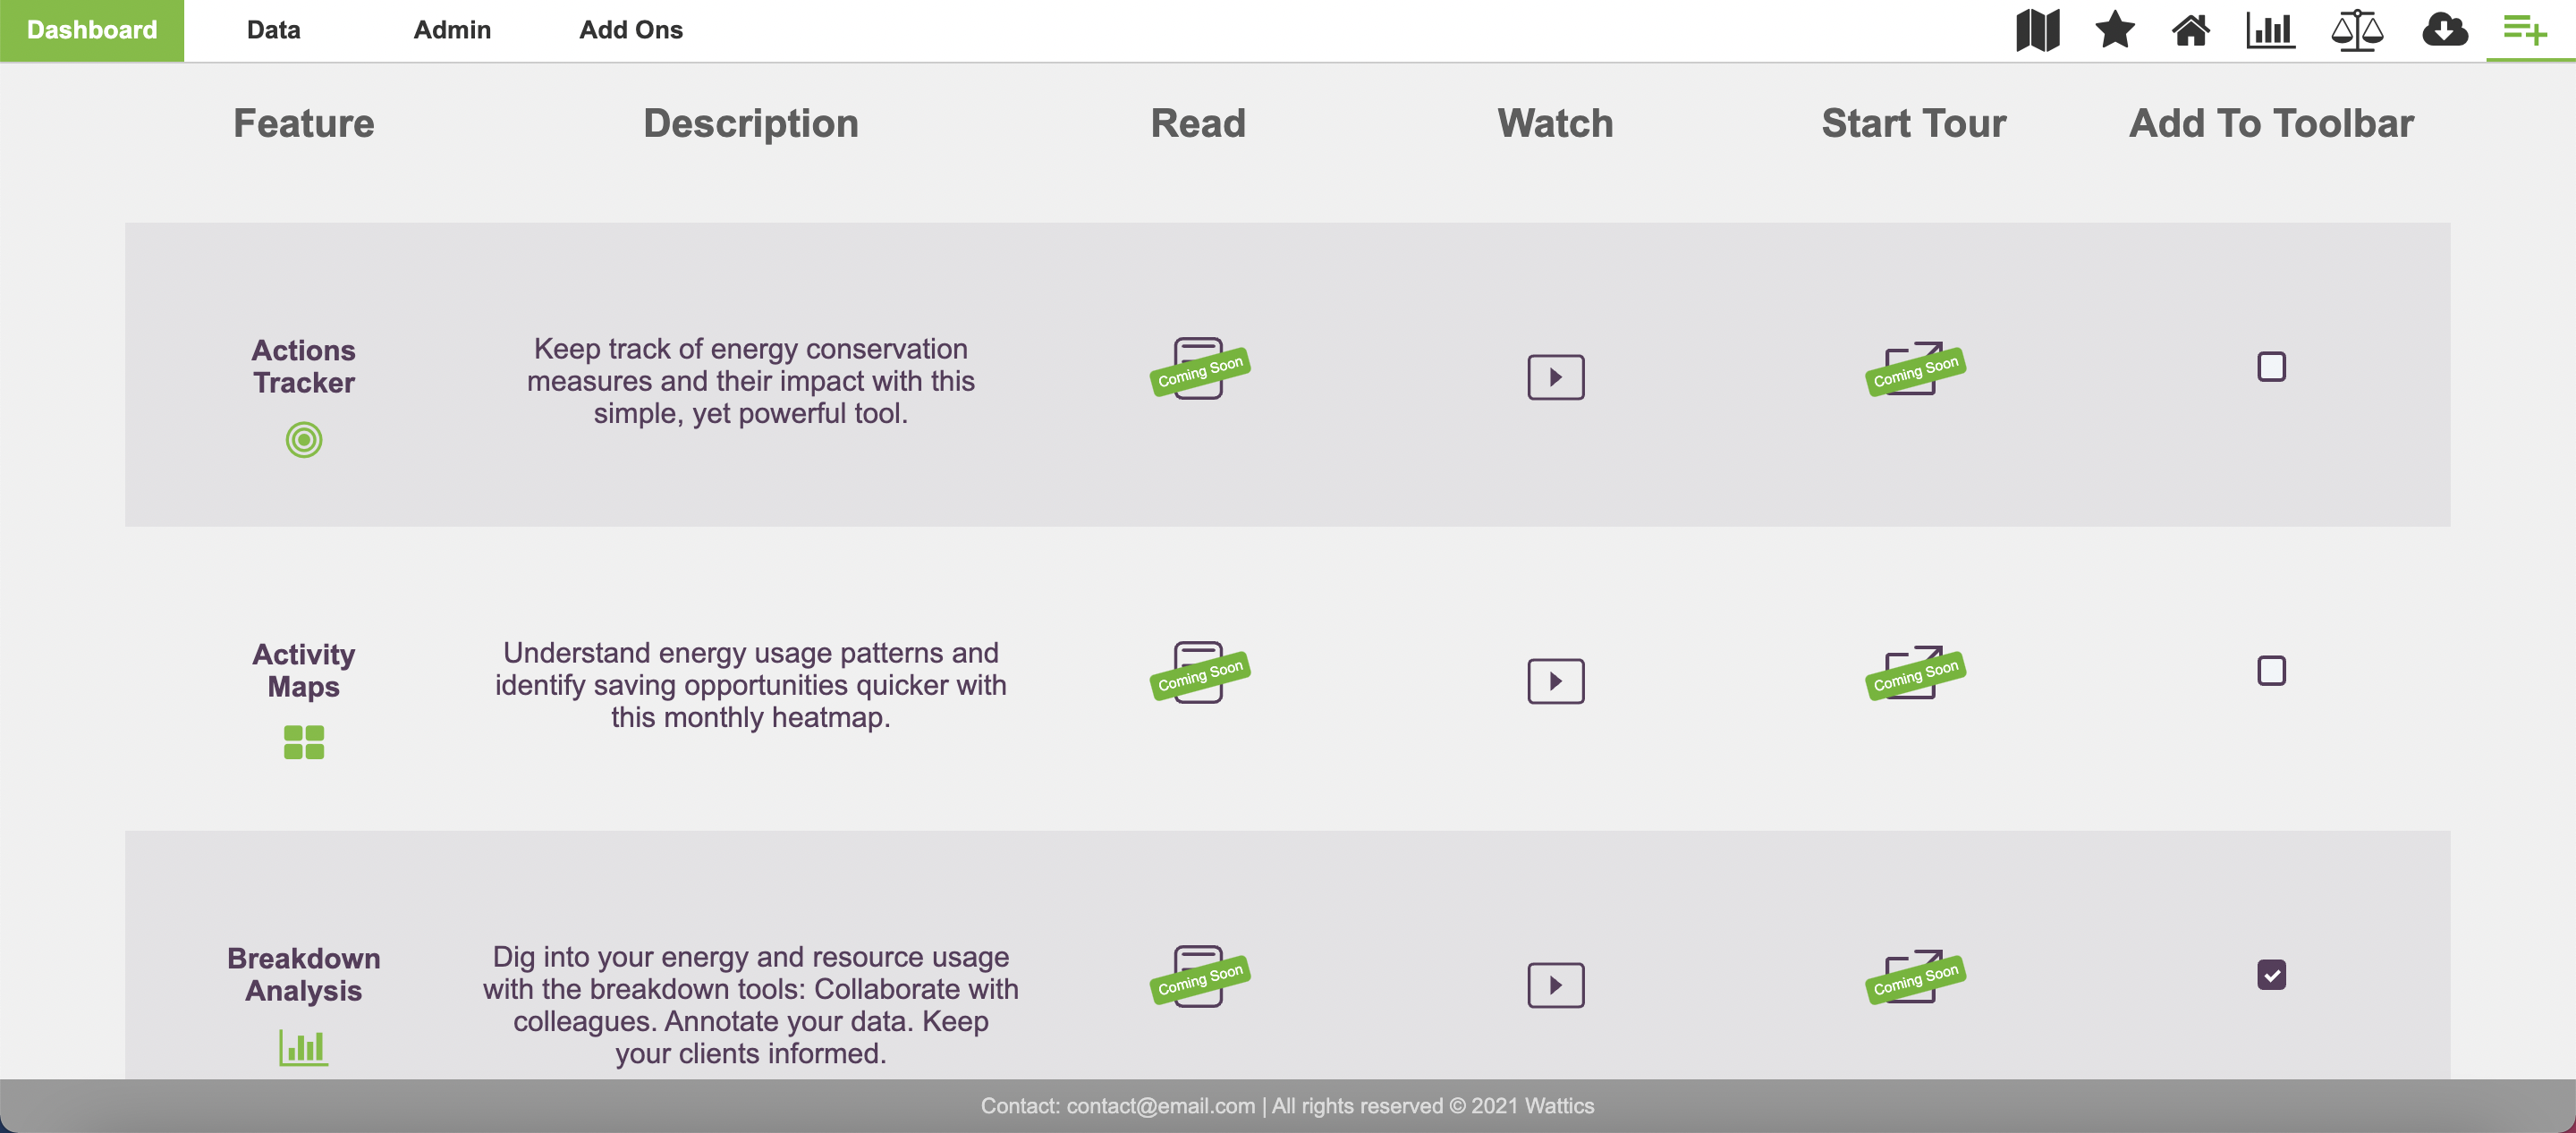
Once you have answered the questions for each tool, decide whether it is being added to your dashboard display or is not relevant to your energy management needs at this time. You can follow this checklist each time you need to ‘clean out’ or refresh your toolbar by clicking the 'add to toolbar' box displayed on the right side of the figure above.
The key is to only keep the tools that you use and need.
Step 3: Put it all together to create your new customized dashboard display
As someone who loves to organize, this is my favorite step. Put together your dashboard and get ready to utilize your AiElements dashboard to the fullest yet.
As you choose items from your toolbox, arrange things so that they:
-
Are easy to access
-
Have plenty of room and are not overlapping one another
-
Make sense for how and how often you use them.
And there you have it, your dashboard is looking organized, customized and most of all even more efficient than it was before.